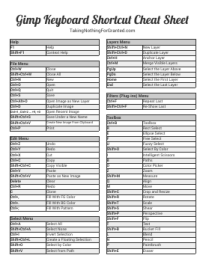
 Today marks the end of my series on Gimp, so of course I have to close out with a combination of my favorite things — keyboard shortcuts and cheat sheets!
Gimp, like most programs, utilizes many (120+) keyboard shortcuts to make its use very quick and simple — assuming you can memorize enough of them!
In addition to the standard shortcuts — which are re-iterated in this cheat sheet, for convenience, despite the fact you’ve hopefully memorized them already! — there are a number of shortcuts that quickly select tools, dockable dialogs, menu options, and more.
The Gimp Keyboard Shortcut Cheat Sheet is free to my mailing list subscribers.
Enjoy!

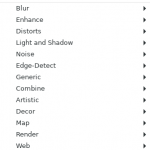 Gimp plugins that alter images in some way — although usually just the single active layer — are called filters.
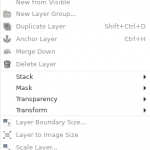 The layer menu contains nearly 50 commands that are essential to working with layers.
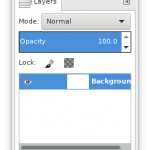 In previous posts on the subject of Gimp and/or image-editing, I have alluded to layers, but without much detail.
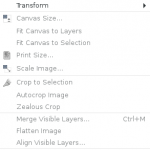 Gimp’s image menu includes commands that affect the entire image in one way or another, as opposed to only parts/selections/layers/etc.
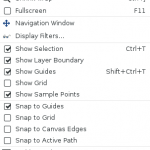 Gimp’s view menu includes commands that affect visibility and appearance of images and the Gimp interface.
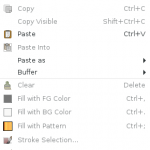 Gimp’s Edit Menu is full of both the standard options found in edit menus, and commands unique to image-editing.
 Image selections are “frames”, characterized by animated dotted lines, that can be used as guidelines to create content or edit the content inside the selected area.
 Paths made via the path tool use Bézier-curves to allow you to make elaborate designs.
 Gimp’s four basic paint tools — pencil, paintbrush, airbrush and the ink tool — are lumped together in a category that also includes the bucket fill, gradient, eraser, clone, perspective clone, heal, convolve, smudge, and dodge/burn tools.