 Customizations and preferences are, of course, my priority when working with any new application.
Even in the cases that I do not yet know my preferences, I like to know what options are available to be customized as I go.
To that end, let’s go through some basics of how Gimp is set up — vs. how it can be set up — along with some of the operational aspects.
User Interface
Gimp first opens into its default multiple-window mode, meaning that three separate windows, or docks, will be shown.
You have the choice of re-arranging the windows/docks to best suit your work-flow, or of merging them into a single window.
To merge (or un-merge!) the windows, go to Windows > Single-Window Mode on the menu, and toggle the check box to your preferred setting.
In multiple-window mode, if ever your toolbox and layers/brushes windows disappear, they can be brought back via their names under the Windows menu or by toggling Hide Docks in the same menu.
(Or use the Tab keyboard shortcut; it’s so much more handy!)
Also of note are the 20+ “Dockable Dialogs” in the Windows menu, which open additional windows, most related to specific tools or functions.
Preferences
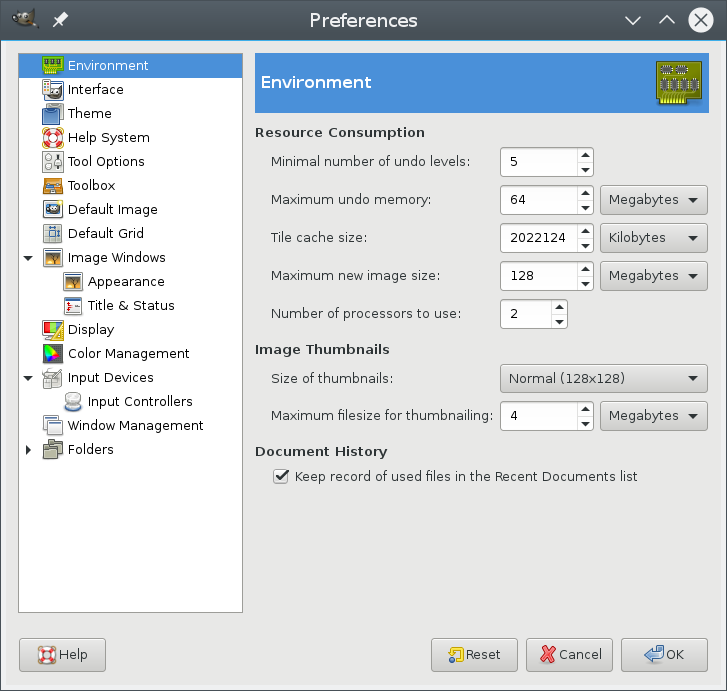 Under the Edit menu, you can select Preferences to customize many aspects of Gimp to suit your needs.
Modifications can be made to the Environment, Interface, Theme, Help System, Tool Options, Toolbox, Default Image, Default Grid, Image Windows, Display, Color Management, Input Devices, and Folders.
There are a number of useful changes that can be made, but what I find most useful right off the bat is the ability to set preferences regarding the creation of the default image.
Also, for those that like a grid effect, one can be toggled under the Image Windows > Appearance preferences.
And for those of us that make a lot of mistakes — or change our minds quite often! — the number of Undo/Redo level can be adjusted.
My advice would be to play around a bit, and see what options are available, in hopes of remembering later when you wish something could be changed… chances are it can be!
How to Create a New Gimp File
 It is simple to create a brand-new blank image in Gimp; simply click on File > New on the menu bar.
In the “Create a New Image” window, you can choose a pre-existing template, or customize the image from scratch.
The image size can be specified in pixels, inches, points, meters, etc. and under “Advanced Options” the resolution, color space, fill (color/transparency/etc.) can all be customized.
You can also add comments to the image properties.
When you’re finished, click “OK” and your brand-new image will be ready to go.
File Formats & Saving/Exporting Files
Pretty much any type of image files can be opened with Gimp, either by right-clicking the image and selecting Gimp from the Open With menu, or from inside Gimp itself, by selecting Open… from the File menu and navigating to your image’s location.
Saving files that have been opened in Gimp is another matter entirely.
Gimp’s native file format is XCF, or the .xcf extension.
Any file created or opened in Gimp can only be saved in XCF format (or various related archive formats).
This is great for projects in progress, as XCF is a virtually loss-less format that can be edited time and time again… but it is not so convenient a format for pretty much any other use!
The solution is simple. When an image is edited to your satisfaction, you can simply export it in the desired file format, and the original XCF file will remain conveniently on standby.
To export, simply select Export As… from Gimp’s File menu, and pick a file format (.png, .jpg, .gif, .ps, .psd, .tiff, .bmp, etc.) to export as. (You may also have to manually change the file extension shown as a part of the image name.)
Conclusion
These basic exploratory steps are the building-blocks that will enable us to create a comfortable environment from which to navigate image-editing.
In our next lesson we will continue the exploration by learning about the tools first available for use in the Gimp environment.